RPI2DMD is a community project that transforms a Raspberry Pi into a display controller for HUB75 type RGB LED panels. Used as a retro “clock,” GIF animation display, or pinball-style color DMD screen, it relies on P2.5/P3/P4/P5 panels powered by 5 V and on highly efficient GPIO control libraries. This guide covers the research intent “what is RPI2DMD, which hardware to choose, how to install it, and what alternatives exist.”
TL;DR: RPI2DMD = Raspberry Pi + HUB75 panels + dedicated OS to display GIFs/color DMD. Key hardware: Pi 3/Zero 2 W, P5/64×32 panel, 5 V power supply ≥ 10 A, HUB75 interface board. Alternatives: Pin2DMD, ZeDMD, ColorDMD depending on budget and usage.
RPI2DMD: definition, architecture, and operation
Definition: RPI2DMD is a community software distribution/stack to display animations (GIFs, texts, weather, emulated pinball DMD, etc.) on HUB75 LED panels controlled by a Raspberry Pi. The project relies on the open-source library rpi-rgb-led-matrix by Henner Zeller, a reference for driving LED matrices via GPIO. HUB75 interface boards for Raspberry Pi simplify wiring and powering one or more panels.
Basic principle: HUB75 panels multiplex LED rows. The Pi continuously pushes RGB data frames via GPIO (R/G/B high/low lines, line selection A-E, CLK, LAT, OE). A dedicated binary or a systemd service reads a source (GIF files, DMD frames, framebuffer, or software pipeline) and converts it into a Hub75 stream with adapted timing.
Recommended hardware for a stable RPI2DMD
Raspberry Pi: Pi 3B/3B+ or Zero 2 W are sufficient for a clock/animations. The Pi 4 and Pi 5 work via adapted methods/HATs; some older framebuffer demos did not work on Pi 4, recent guides detail support on Pi 5. Prefer a Pi with Wi-Fi if you want weather/network updates.
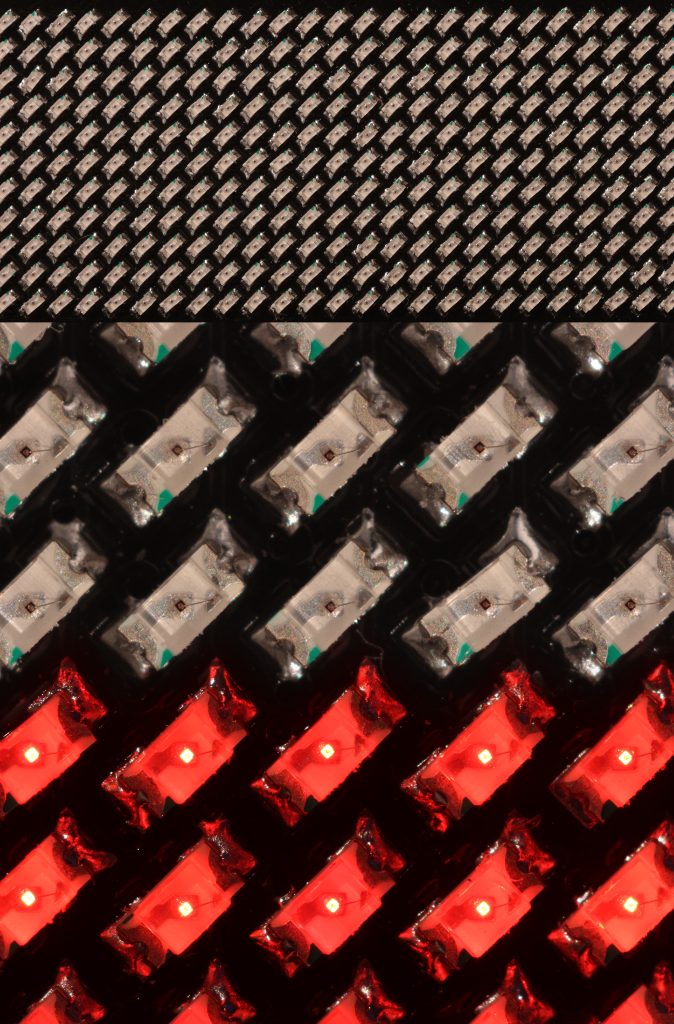
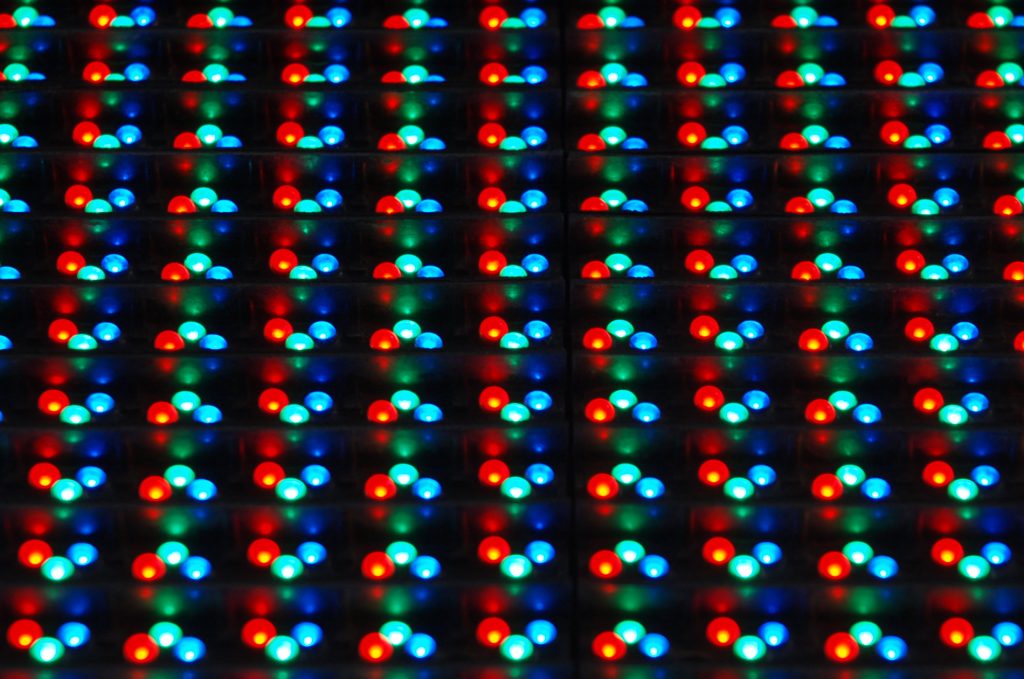
HUB75 LED panel(s): 64×32 (P5 320×160 mm) is a good standard for a first setup. The 64×64 P2.5 offer higher density but require more timing and power. Check the LED type (SMD2121 vs 3528) and the scan rate (1/16, 1/32).
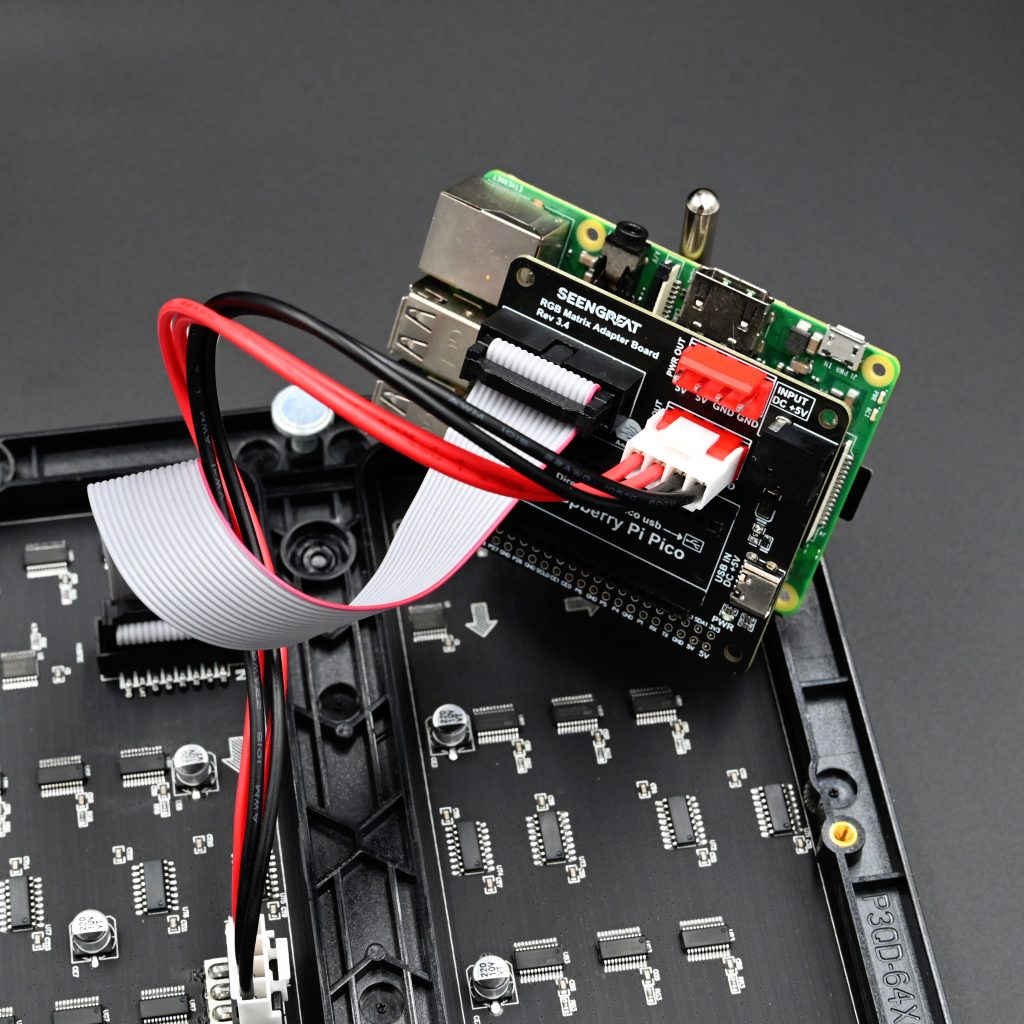
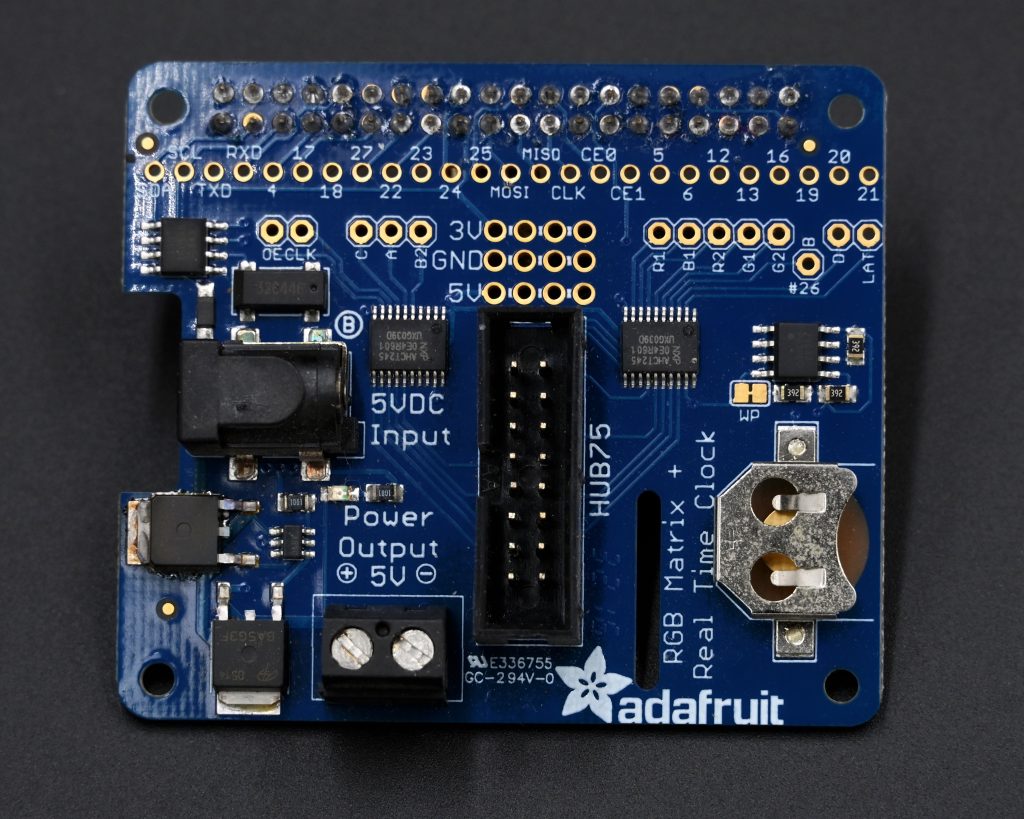
HUB75 interface board: dedicated HAT/hat/adapter. They handle logic level, clock, and sometimes panel power. Commercial boards exist with 5 V terminal block, HUB75 connector, and real-time clock.
Power supply: 5 V with margin. Count up to ~2 A per 64×32 panel at full brightness. A 5 V 10 A power supply covers 4–5 panels depending on usage. Respect cable gauge and common grounds.
Chassis/frame: ready-to-use P5 frames, or 3D parts to mount panels + Pi + power supply, with diffusion/plexiglass cutout if desired.
Choosing your panels: P2.5, P3, P4, P5, density and rendering
Pitch: P2.5 = 2.5 mm, P3 = 3 mm, etc. The smaller the pitch, the finer the image; at the same distance, P2.5 is sharper than P5. The cost/complexity/power compromise often places P5 64×32 as the “sweet spot” for a wall clock.
Resolution and size: a 64×32 P5 measures ~320×160 mm. Two panels placed side by side form 128×32 or 64×64 depending on the orientation. The 64×64 P2.5 (~160×160 mm) are very dense, ideal for fine texts and retro sprites.
LED & scan: SMD2121 vs 3528, and 1/16 vs 1/32 scan affect brightness, colors, and timing constraints. For a beginner Pi, a 1/16 panel is more forgiving than 1/32. Check compatibility in the library and your HAT documentation.
Pinball/DMD usage: to simulate a classic 128×32 DMD, two 64×32 P5 panels in line work well. For high-definition colorizations, opt for denser panels or dedicated solutions (Pin2DMD HD, ColorDMD LCD/OLED).
System & software: key components
Control library: rpi-rgb-led-matrix is the technical base: matrix management, multiplexing, colorimetry, pixel mappers, and examples. Wrappers and utilities facilitate displaying GIFs, texts, or reading external sources.
RPI2DMD distribution: community image focused on “clock/animations” with GIF packs and modules (time, weather, brightness according to time). Distributed via specialized forums; the distribution model may involve restricted access or donation, depending on authors and versions.
Pi 4/5 compatibility: recent guides detail the approach for Pi 5. On Pi 4, some old framebuffer methods do not work, but direct HUB75 control via adapted libraries and HAT remains possible.
Mission Pinball Framework: for custom arcade/pinball use, the framework supports the “rpi_dmd” platform and allows integrating a HUB75 matrix as a DMD within a game project.
Step-by-step installation
1) Hardware preparation
Mount the HAT/adapter on the Pi. Connect the HUB75 IN cable of the first panel to the HAT. Wire the common ground. Connect the 5 V power supply to the panel terminal block and, if provided by your adapter, to the Pi via the board. Never connect/disconnect under power.
2) System image
Option A: use the RPI2DMD image provided by the community and follow their procedure. Option B: start from a Raspberry Pi OS and install the rpi-rgb-led-matrix library, then a GIF display service or a DMD player.
3) Dry run tests
Compile and run the library demos (test-shapes, text-scrolling) to validate timing and mapping. Adjust --led-rows, --led-cols, --led-chain, --led-parallel, --led-slowdown-gpio, and the multiplexing type.
4) Deploy content
Copy your GIFs and animation packs into the folders expected by the RPI2DMD service. If targeting a “pinball” use, prepare the 128×32 or 192×64 DMD assets according to the layout, or use existing pipelines.
5) Auto start & network
Enable a systemd service at boot. Configure Wi-Fi and, if provided by the distribution, weather (API key), day/night periods for brightness, and NTP sync for time.
Settings & Optimization
Brightness: use the library options to cap the PWM value according to indoor use. This reduces flicker and power consumption, and increases lifespan.
GPIO Rate: the parameter --led-slowdown-gpio is crucial: start at 2 on Pi 3, increase if you see artifacts. On Zero 2 W, adjust according to CPU load.
Mapping: depending on the manufacturer, the order of rows/columns may change. Test the multiplexing modes 0..17 provided by the library and/or the documented “pixel mappers.”
Chaining: beyond 4 panels, carefully manage power distribution and ribbon routing to avoid losses and ghosting. Use multiple parallel outputs if your HAT allows it.
Thermal & Noise: provide ventilation for the 5 V power supply. Panels heat up at high brightness: lower the PWM at night and keep sensitive materials away.
Alternatives: Pin2DMD, ZeDMD, ColorDMD
Pin2DMD: dedicated hardware for color DMD, very common in real/virtual pinball. Ecosystem of tools and colorizations. Licensing and activation vary by version. Advantage: robust DMD pipeline. Disadvantage: less oriented towards “GIF clock” for the general public.
ZeDMD: recent and economical open-source option for DMD display on HUB75 panels. Less activation friction. Ideal for DIY projects.
ColorDMD: premium commercial solution (LCD/OLED/LED) plug-and-play for pinball machines. Official quality and support, higher price.
RPI2DMD sits between playful DIY and DMD-inspired display: high versatility (clock, weather, GIFs, logos, sprites), controlled cost, but community aspects for OS and content packs.
Concrete Use Cases
- Animated wall clock: rotation of time/date/weather + cycles of retro GIFs.
- Workshop display: CI/CD status, weather, production, queues.
- Arcade/VPIN: color DMD display for virtual cabinet.
- Events: text ticker, animated logos, visuals synchronized with music.
Troubleshooting & Common Errors
Black screen: check 5 V at panel terminals, polarity, common ground, HUB75 connector on the “IN” input. Run a simple library demo to isolate hardware/software.
Artifacts/flicker: increase --led-slowdown-gpio, reduce brightness, check CPU/GPU frequency, test other multiplexing modes. Avoid concurrent CPU loads.
Wrong colors: incorrect R/G/B mapping or reversed wiring. Try another “row address mapping,” check the HUB75 cable and mapping options.
Heavy GIF packs: convert to optimized palettes, reduce FPS, crop to output resolution. Use fast storage and check partition size if cloning an SD image.
FAQ
Does RPI2DMD work on Raspberry Pi 4 and 5?
Yes, with the right stack. Some older framebuffer demos did not work on Pi 4, but controlling HUB75 via libraries/hat is possible. For Pi 5, recent guides describe dedicated support.
Which panel to choose to start?
A P5 64×32 is a good cost/size/complexity compromise. Comfortable reading distance, simple wiring, moderate consumption.
What power supply do I need?
Plan for 5 V with margin. Count up to ~2 A per 64×32 panel at full brightness. A 5 V 10 A covers 4–5 light panels.
Can I display color pinball DMDs?
Yes. RPI2DMD can play animations in DMD style. For real/virtual game integration, look at Mission Pinball Framework or dedicated solutions like Pin2DMD/ZeDMD/ColorDMD depending on your case.
How to reduce visual noise/ghosting?
Lower the brightness, adjust the GPIO slowdown, use short cables and good power supply, test the correct multiplexing mode.
Are there ready-to-use animation packs?
Yes, the community offers large GIF packs. Access can be centralized via specialized forums depending on the authors.
Conclusion
RPI2DMD is a fast track to bring a HUB75 LED panel to life: animated clock, retro GIFs, or color DMD. By combining a Raspberry Pi, a P5/P2.5 panel, a HUB75 HAT and the appropriate library, you get a bright, highly customizable and scalable display. For a 100% pinball-oriented DMD stream, compare with Pin2DMD/ZeDMD/ColorDMD. For a fun and economical “GIF wall,” RPI2DMD ticks the essential boxes.


