Installing a Modpack on Minecraft Java: Complete Guide to Succeed Without Crashing
Installing a Minecraft Java modpack can transform a simple game into a gigantic adventure, an automated factory, a full RPG, or a server among friends packed with quests. But here’s the downside: a poorly installed modpack, an approximate Forge version, or a Minecraft profile mixed with another, and the game closes even before the title screen. Not very fun.
The good news is that a clean installation is nothing complicated. The real issue is not just “adding mods,” but respecting a compatibility chain: Minecraft Java version, loader, dedicated profile, allocated memory, and backups. This guide starts with the simplest method, then moves on to more manual cases, including servers, to play without breaking your installation.
In Brief
✅ The safest method is to use a modpack launcher like CurseForge or Modrinth App: it creates a separate profile, downloads dependencies, and limits folder errors.
🧩 A Minecraft Java modpack only works if the game version, the Forge or Fabric loader, and the included mods are compatible with each other. A single mismatched version can be enough to cause a crash.
💾 Before any manual or server installation, you must make a backup of the saves folder and avoid modifying a main world without prior testing. It’s the small step that saves hours of gameplay.
⚙️ Most crashes come from three causes: incorrect memory settings, missing dependency, or wrong profile selected. In other words, these are often avoidable errors.
Why Installing a Modpack Really Changes the Minecraft Experience
A Minecraft modpack is not just a handful of mods thrown into a folder. It’s a coherent set: mods, libraries, configurations, sometimes shaders, quests, custom menus, and progression settings. Packs like All The Mods, Better MC, or Vault Hunters deeply modify the gameplay loop, with new biomes, machines, bosses, dimensions, or skill systems.
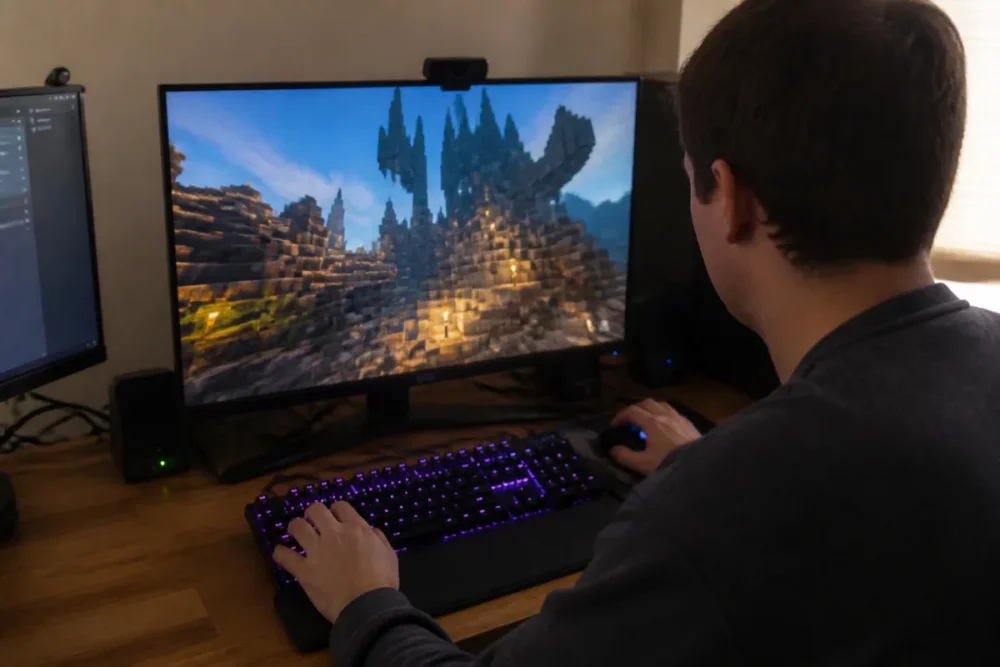
The downside is that this richness relies on a fragile balance. A pack designed for Minecraft Java 1.20.1 with Forge should not be launched as a Fabric pack, nor mixed with a newer vanilla profile. In practice, many crashes do not come from the modpack itself, but from a “half-clean” installation: old mods folder kept, wrong loader, world opened too soon, or randomly allocated memory.
A good modpack improves Minecraft; a bad installation mostly turns the launcher into an error message machine.
That’s why the most reliable approach is not necessarily the most technical. It consists of starting from a clean environment, letting a launcher manage what it knows how to manage, then intervening manually only when the modpack really requires it. Joking aside, wanting to do everything manually from the start often just complicates life for no gain.
What Should You Check Before Installing a Minecraft Java Modpack?
Before installing a Minecraft Java modpack, check the exact game version, the required loader, available disk space, usable RAM, and the existence of a backup. These five points avoid most crashes, corrupted worlds, and Minecraft profiles impossible to restart.
The first check concerns the type of modpack. A lightweight pack focused on performance does not require the same resources as a technical pack with machines, pipes, dimensions, and modified world generation. An adventure modpack may mainly load new biomes and structures, while a multiplayer pack must also exactly match the server’s configuration.
It is observed in the field that beginner players often confuse “installing a mod” with “installing a modpack.” The first can sometimes be as simple as dropping a .jar file; the second requires respecting an entire environment, often already configured by the pack creator.
Next, look at the pack’s page on its distribution platform. On the CurseForge application or Modrinth App, the Minecraft version and loader are generally clearly indicated. This is where compatibility is determined. A Forge pack does not magically become Fabric, even though both systems are used to load mods.
| Element to check | Why it’s important | Practical tip |
|---|---|---|
| Minecraft Java Version | Mods target a specific version of the game | Common examples: 1.20.1, 1.19.2, or 1.18.2 depending on the pack |
| Loader | Forge and Fabric do not load mods the same way | Do not mix the two in the same profile |
| RAM | A large pack can crash on loading if the RAM is too low | Usually between 4 and 8 GB allocated depending on the pack size |
| Disk space | Files, caches, and modded worlds take up space | Plan for several GB free before installation |
| Backup | A world opened with bad mods can become unstable | Copy the saves folder before testing |
Finally, consider the Java environment. Recent versions of Minecraft Java Edition use different versions of Java depending on the game branch, and modern launchers often include them automatically. In other words, if you go through CurseForge or Modrinth, you already avoid part of this headache. For manual installation, however, you need to be more careful.
How to install a Minecraft Java modpack with CurseForge or Modrinth?
To easily install a Minecraft Java modpack, install CurseForge or Modrinth App, search for the desired pack, check the Minecraft version and loader, then start the installation. The launcher creates a separate profile and downloads the necessary files, which greatly reduces compatibility errors.
The method via dedicated launcher is the one to prioritize in most cases. It is less “DIY,” but much more robust. The launcher retrieves the correct modpack, creates an independent profile, avoids polluting your vanilla installation, and often manages the necessary libraries. Cherry on top: you can delete or update the pack without manually handling each file.
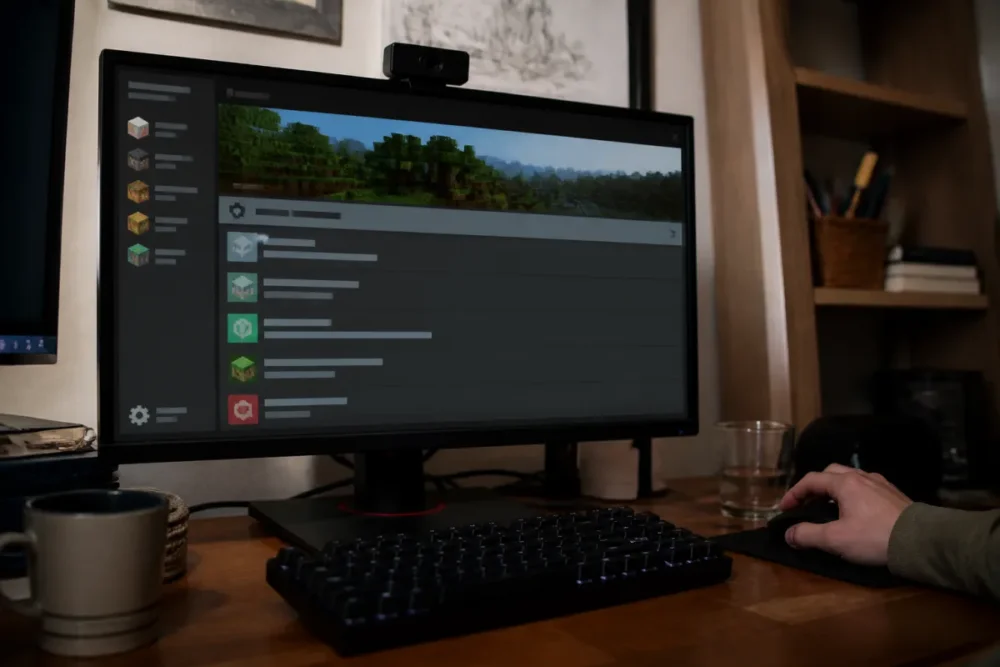
Here is the straightforward procedure:
- Install a recognized launcher, for example CurseForge or Modrinth App, from its official website.
- Log into your Minecraft account if the launcher requests it, without downloading any executable from a shady site.
- Search for the modpack by its exact name, then open its page.
- Check the version of Minecraft Java Edition and the indicated loader.
- Start the installation and let the launcher create the dedicated profile.
- Launch it once without adding any additional mods, to test the pack in its intended state.
This last step is underestimated. Before adding a shader, a minimap mod, or an optimization found on a forum, launch the pack as is. If the game starts, you have a healthy base. If you add ten files even before the first launch, troubleshooting becomes a scavenger hunt. And not the good kind.
For Forge, the official version page remains the Minecraft Forge repository. For Fabric, the official installer is available on the Fabric installation page. These links are especially useful if you need to install a profile manually, but they remind you of a simple rule: the loader must come from its official source.
How to manually install a modpack without breaking your game?
Manual installation becomes useful when the modpack is not available in a launcher, when you receive an archive provided by a private server, or when the pack requires a specific procedure. It is not impossible, but it is less forgiving of approximations. You therefore need to create a clean profile, install the correct loader, and place the files in the right place, without randomly moving the entire Minecraft folder.
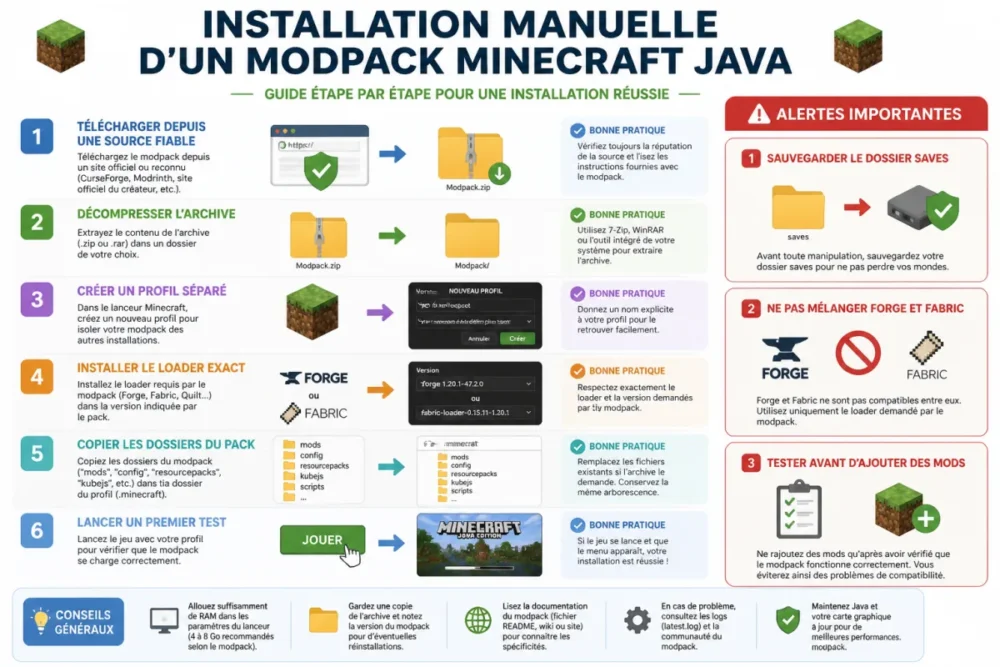
In a typical manual case, the downloaded file often contains folders like mods, config, sometimes defaultconfigs, kubejs, or files specific to the pack. You must first extract the archive, read the instructions if they exist, then install the requested loader. For a Forge pack, install Forge in the correct version; for Fabric, create a corresponding Fabric profile.
The most reliable sequence looks like this:
- Download from a reliable source: official pack page, CurseForge, Modrinth, or the relevant server site.
- Extract the archive before copying the files, rather than dragging the .zip directly into the mods folder.
- Create a separate profile in the Minecraft launcher or a compatible launcher.
- Install the exact loader requested by the pack, not “the latest version at random.”
- Copy the pack folders into the dedicated profile directory.
- Launch once without modifying the provided configuration.
The crucial point is profile separation. Using the main folder .minecraft for all your tests may work for a while, then become unmanageable. A dedicated profile with its own directory allows you to delete the pack, roll back, and compare logs without mixing multiple installations.
Manual installation is not about going faster: it is about accepting to be more methodical to keep control.
And on the server side? Specialized tutorials converge on one point: it is better to start from a freshly installed or reset server, then upload the server pack files via FTP. On CurseForge, server files are often found under the Files tab, then Additional Files, with a “server pack” archive. After downloading, you need to unzip it, transfer its contents into the server’s Minecraft folder via FTP, configure the correct Minecraft and Forge versions, then restart the server.
Good to know: some .sh or .bat files may fail to transfer via FTP without preventing the pack from working, depending on the host and system used. However, a server reset generally deletes existing data. A backup before handling is therefore not a nice option: it is your safety net.
Which settings prevent most crashes?
The stability of a modpack depends as much on its files as on your settings. Even a well-designed pack can crash if the allocated memory is too low, if the graphics options are too ambitious, or if your PC launches the game with several heavy applications running in the background. Conversely, allocating all your RAM to Minecraft is not necessarily better: the operating system needs to keep breathing.
In modern launchers, memory allocation is often set in the profile settings. For a small modpack, 4 GB may be enough. For a heavily loaded technical or adventure pack, 6 to 8 GB is often more comfortable. Beyond that, do not increase mechanically: if the game lags due to the processor, disk, or chunk generation, adding RAM will not fix everything.
- Reduce the render distance if the world loads slowly or stutters.
- Disable shaders during the first test, especially on an already heavy pack.
- Close unnecessary browsers and launchers during the initial launch.
- Avoid adding mods at random on a stable pack, unless you know how to check dependencies.
- Update the pack in a controlled way, ideally after copying your world.
Dependencies also deserve a mention. Some mods require libraries such as APIs, configuration libraries, or common modules. Launchers often manage these automatically, but when done manually, a missing dependency typically causes a crash at startup with a message in the logs. In other words, if the game closes, do not delete files at random: first look at what the error report indicates.
How to troubleshoot the most common errors?
Troubleshooting should follow a simple logic: isolate the problem instead of changing everything at once. If the game does not start, begin by checking the Minecraft Java version, then the loader, then the dependencies. If the game opens but crashes when loading the world, the cause may be chunk generation, a biome mod, a configuration conflict, or a world already opened with another version of the pack.
| Symptom | Likely cause | Action to try |
|---|---|---|
| The game does not open | Wrong loader or missing dependency | Compare the pack sheet with the launched profile |
| Crash after Mojang Studios | Insufficient RAM or mod conflict | Allocate more memory and read the crash report |
| Severe stuttering | Render distance, shaders, or too heavy generation | Lower the options and test without shaders |
| World impossible to open | Different pack version or modified save | Restore a copy and test on a new world |
| Unable to join a server | Client and server not strictly identical | Install the same modpack and version on the client side |
In practice, a family installing a modpack to play on LAN or a small server often tells the same story: the server starts, but a player cannot join. Nine times out of ten, the client does not have exactly the same version of the pack, or the selected profile is not the right one. That is why it is always helpful to note the pack name, its version, and the loader used before inviting everyone.
If you play on a modded server, remember a strict but effective rule: the client must match the server. The server has its server pack, its configs, and its version of Forge or Fabric; the player must launch the compatible client modpack. Downloading just a few mods “that look similar” is not enough. To avoid unpleasant surprises, install the pack on the client side via CurseForge or Modrinth when possible.
How to choose the right modpack according to your goal?
Choosing a modpack is not just about picking a nice theme. It also means choosing a level of complexity, a learning duration, and a technical load. A performance or comfort pack can be handled quickly. A technical pack with automation, energy, storage, and quest-based progression may require several hours before being truly understood. This is not a flaw, provided you know what you’re getting into.
To go fast, prioritize a pack available directly in a launcher, with a clear description, recent versions, and an active community. For multiplayer play, check before downloading if a server pack exists. Competing sources on server installation emphasize this point: you must obtain the official server files of the modpack, decompress them, then properly transfer them to the hosting instead of tinkering with a vanilla server.
- To play alone without hassle: choose a popular modpack installed automatically.
- To improve performance: target a lightweight pack focused on optimization, often based on Fabric.
- For adventure: look at packs with quests, biomes, structures, and guided progression.
- For technical play: accept a longer learning curve and more settings.
- For a server: check for the existence of a server pack and save before resetting.
Overall, the most reliable method remains the same: start from a trusted source, respect the required version, keep a separate profile, save before modifying, and test progressively. It’s not very spectacular, but it’s precisely what avoids the most frustrating crashes.
Key Takeaways
- 🧱 A stable modpack starts with a compatible Minecraft Java version and loader.
- 🚀 CurseForge and Modrinth simplify installation by creating dedicated profiles.
- 💾 A world backup must precede any manual or server installation.
- ⚙️ RAM helps but does not compensate for a bad profile or mod conflicts.
- 🛠️ In case of a crash, first check version, loader, dependencies, and logs.
FAQ
Can you install a Minecraft Java modpack on Bedrock?
No, Minecraft Java modpacks do not work on Minecraft Bedrock. The two editions do not use the same mod system or the same files. For Bedrock, you need to look for add-ons or content compatible with that edition.
Do you need Forge or Fabric to install a Minecraft Java modpack?
You must use the loader required by the modpack. Some packs rely on Forge, others on Fabric, and the two are not interchangeable. The pack’s description usually indicates the exact version to use.
Is it dangerous for my saves?
The risk mainly comes from an open world with a wrong version of the pack or removed mods. Before testing, copy the folder saves or use the launcher’s save function if it exists. Opening a test world first is an excellent habit.
Why does my modded server start but no one can join?
The most common case is a difference between the modpack installed on the server side and the one launched on the client side. Even a small version mismatch can block the connection. Also check that the server uses the correct Minecraft version and the right loader.
Can you add your own mods to an existing modpack?
Yes, but it’s not recommended before launching the pack in its original state. Add one mod at a time, check its dependencies, and keep a copy of the profile. On a server, all players usually need to have the same configuration.