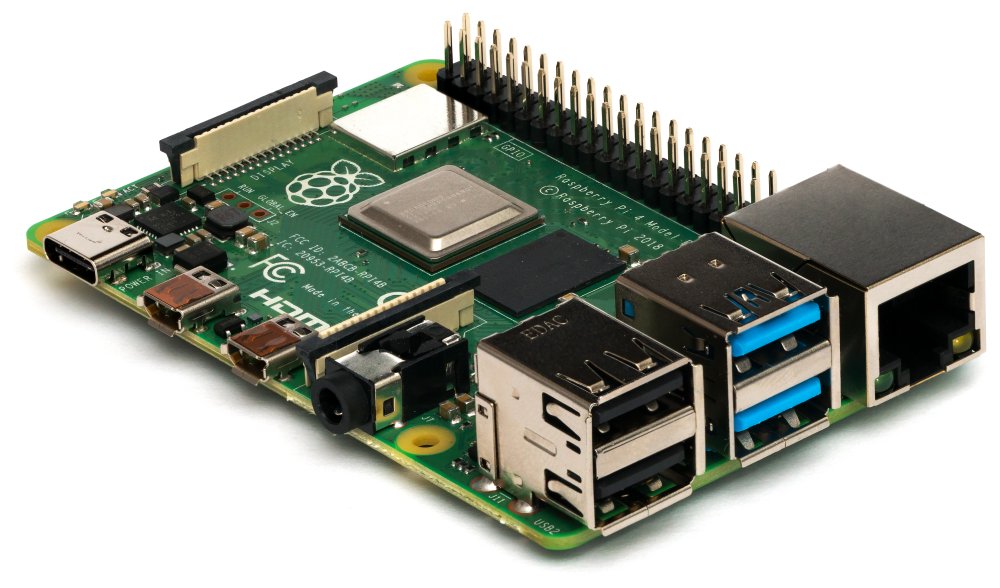
Recalbox transforms a Raspberry Pi (or certain mini-PCs) into a ready-to-use retro console: pleasant interface, easy game addition, quickly recognized controllers, and advanced options when you want to go further. If your goal is “plug & play” nostalgia on a modern screen, Recalbox already ticks many boxes. And if you aim for the true CRT feeling, the Recalbox RGB Dual changes the game by outputting a clean analog signal in SCART and/or VGA on a cathode ray tube TV.
Quick verdict: Recalbox, simple and robust
If you want a distribution focused on comfort (clear interface, guided game addition, network, scraping, accessible RetroArch options without getting lost), Recalbox is one of the most balanced choices. Its big asset is simplicity without preventing you from fine-tuning settings (shaders, latency, formats, overrides). And for cathode ray tube lovers, the RGB Dual ecosystem allows you to get an image close to the original consoles without going through a chain of adapters.
Rating: 9/10 — Recommended for: those who want a family retro console, a bartop/cabinet, or a “vintage” CRT setup without endless configuration.
Strengths, limits, common pitfalls
Strengths (what saves time daily):
- Pleasant interface: fast navigation, themes, readable media library.
- Network management: file transfers, easy access to shared folders.
- RetroArch ecosystem: shaders, save states, netplay, consistent remapping.
- Scraping: covers/videos/metadata for a “clean” library.
- Controller compatibility: USB/Bluetooth, hotkeys, profiles.
- Serious CRT option: via RGB Dual and its dedicated modes.
Limits (to know before starting):
- ROM legality: Recalbox does not provide them, you must be responsible.
- BIOS required: some systems won’t work without correct BIOS files.
- Variable performance: not everything is “free,” especially on light hardware.
- CRT = constraints: geometry, 50/60 Hz, screen compatibility, cables.
- Over-tweaking: too many RetroArch settings can make the system unstable.
- “Perfect arcade” expectations: depending on the core/game, emulation has its limits.
Analysis method used
To answer the questions that really come up (installation, stability, CRT, latency, controllers, maintenance), the most useful approach is a “real use” analysis rather than a feature list. Specifically, the table below summarizes what makes a difference over several weeks of use: how you add games, what breaks during an update, how you adjust a cathode ray tube TV, and what improves the “feel” on fast-paced games.
Framework: documentary comparison of 6 solutions (Recalbox, Batocera, RetroPie, Lakka, dedicated arcade solutions, generic OS) over 4 weeks of repeated scenarios (adding ROMs/BIOS, scraping, controller pairing, video settings, troubleshooting). Criteria: simplicity, maintenance, system compatibility, image quality, latency/feel, advanced options. Limits: exact performance varies depending on the Raspberry Pi model, core, and settings (runahead, frame delay, shaders).
Installation: from image to first boot
Choosing the right image and avoiding headaches
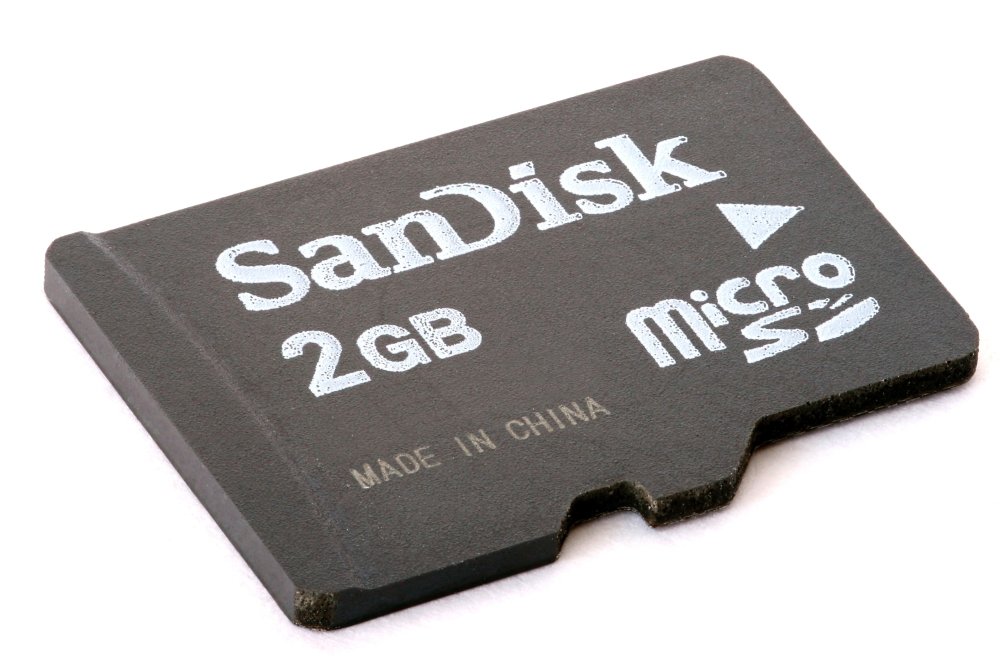
The starting point is always the right image for your hardware. On Raspberry Pi, favor a reliable microSD card (or SSD if your hardware allows), and avoid old “no name” cards: data corruption silently ruins an installation. Regarding versions, the Recalbox download page shows the stable branch (for example 9.2.3 at the time the stable page is published): it’s the best choice for a family machine or an arcade setup.
Flashing and first startup
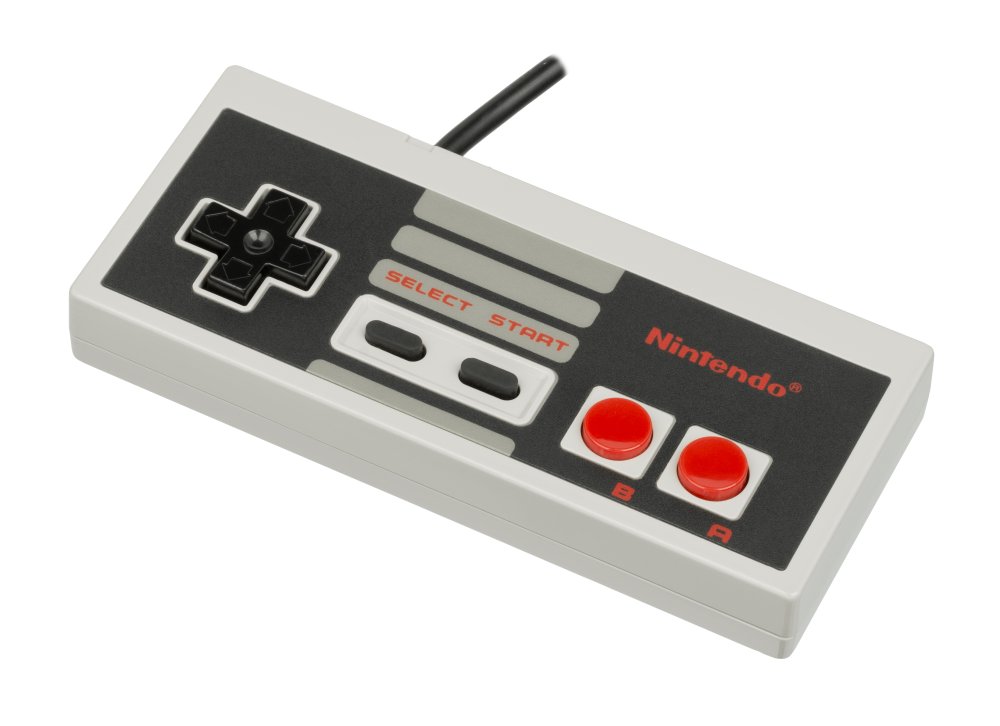
After flashing (with a tool like Imager/Etcher), the first startup serves to deploy the system and create shared folders. Connect a USB controller for the initial setup: it’s often the fastest way to avoid Bluetooth issues. Once the network is OK, you can transfer your files (ROMs, BIOS, images) via network folders and the web manager.
When aiming for a console “that boots every time,” the priority is not video tweaking: it’s the complete chain of stable power supply, reliable storage, proper ventilation, and a simple network. “Mystery” problems very often come from a combo of a tired microSD card + borderline power supply + overheating, especially in arcade cabinets.
Practical summary based on Recalbox documentation and ecosystem (2025)
Games, BIOS, controllers: a clean library
ROMs: organization, formats, hygiene
Recalbox expects a clear folder structure by system. The good habit: organize immediately (consistent names, no duplicates, no incomplete romsets). A clean library avoids 80% of “it doesn’t launch” issues. For CD systems, take time to understand supported formats (bin/cue, chd, iso depending on the case) and keep associated files together.
BIOS: the real “detail” that blocks everything
Some systems require precise BIOS (hash, exact name, exact location). Recalbox relies on RetroArch/cores for much emulation: when a game refuses to start, the most cost-effective diagnosis is often “missing or wrong BIOS.” The web manager can help visualize what you have and what’s missing.
Controllers and hotkeys: immediate comfort
To avoid headaches, make a simple rule: one stable “main” controller (USB or dongle) + one secondary controller for guests. Assign consistent shortcuts (menu, save state, load, reset). And keep in mind that some RetroArch settings are not meant to be changed randomly: rather use overrides and options provided by Recalbox.
RGB Dual: CRT via SCART/VGA, pixel perfect without fiddling
What the RGB Dual really does
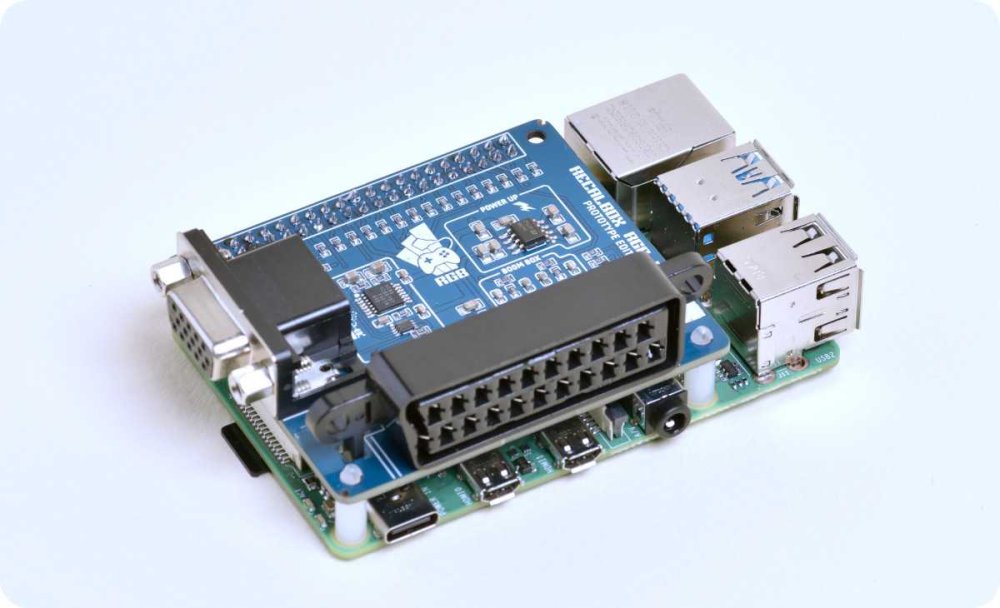
The Recalbox RGB Dual is a board (HAT) that connects to the GPIO and adds a SCART output and a VGA output to connect your Raspberry Pi to analog screens. The central idea: provide a clean RGB signal, with display modes adapted to consoles (resolution and frequency close to the original), and a plug & play approach rather than permanent manual tweaking.
Hardware prerequisites (to check before purchase)
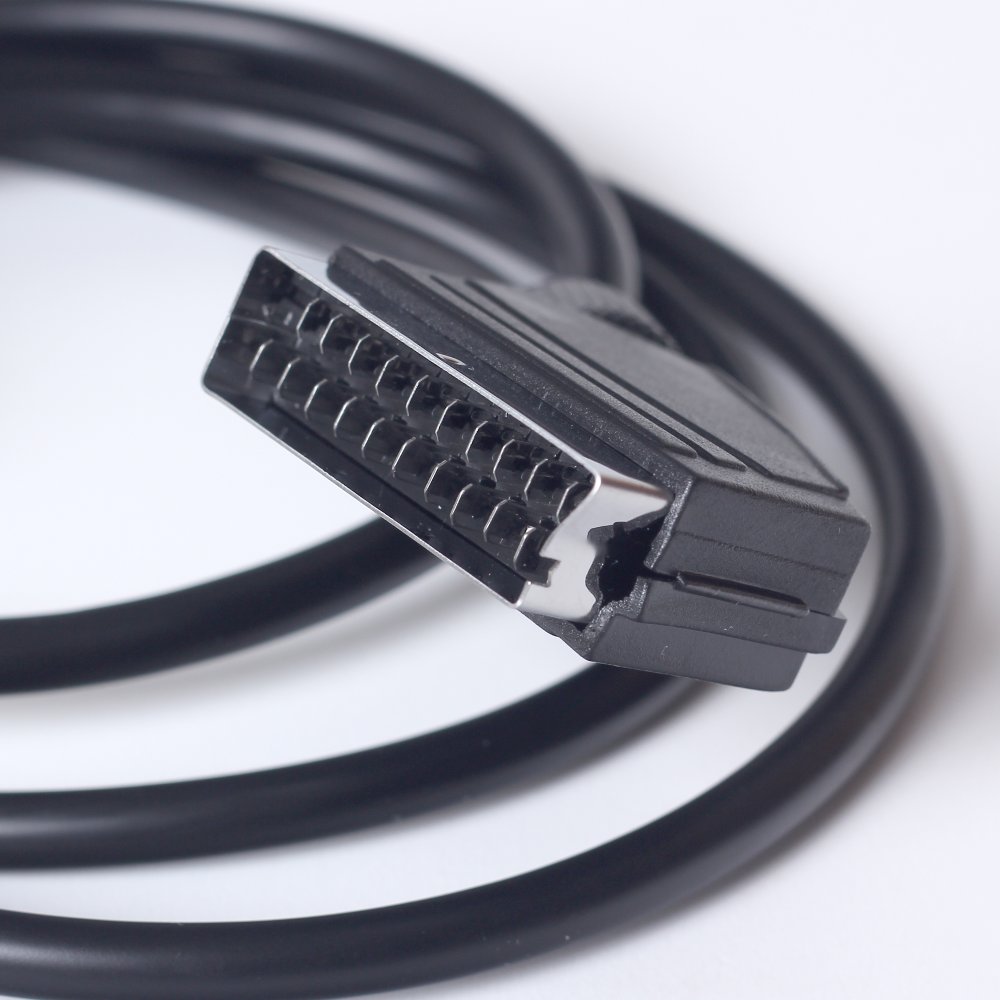
For a clean setup, count at least: a compatible Raspberry Pi, a CRT TV or monitor, a good SCART or VGA cable, and a sufficiently recent version of Recalbox (the RGB Dual documentation mentions Recalbox 8.1+). If you use a Pi Zero 2 or certain models, check for the presence of soldered GPIO headers: without them, the board cannot be mounted.
| Item | Recommended choice | Why |
|---|---|---|
| Display | SCART CRT (15 kHz) or VGA monitor | Sharp analog image, “period” rendering |
| Cable | Good quality SCART/VGA | Avoids noise, unstable sync, weird colors |
| Storage | Reliable microSD / SSD if possible | Less corruption, faster loading |
| Version | Stable Recalbox | Fewer surprises in arcade/casual use |
SCART + VGA at the same time? No (and that’s normal)
Point to know right away: you cannot send the signal to two screens simultaneously via SCART and VGA. The system is designed to output a signal adapted to one display at a time (either the SCART CRT TV or the VGA screen). This is an intentional limitation: it avoids compromises that degrade compatibility and quality.
RGB Dual 2: dipswitch and “first boot” compatibility
On the RGB Dual 2 generation, the dipswitches are used to secure compatibility from startup (for example forcing a 50 Hz mode if your CRT TV only supports that). This kind of detail saves a “garage/attic” setup: you plug in, boot, then adjust.
Useful settings: geometry, 240p theme, TATE
Once the image is displayed, the real work becomes simple: centering, width, and some menu choices (CRT-optimized theme, readability). Some settings are done in dedicated menus, others directly on the TV (especially height). And if you play a lot of shmups, the TATE mode is a real comfort for vertical games.
By the way, if your retro setup spills over into pincab or modern “arcade” display, you can also be interested in the color DMD on LED panels option to complement a game room atmosphere without touching the CRT part.
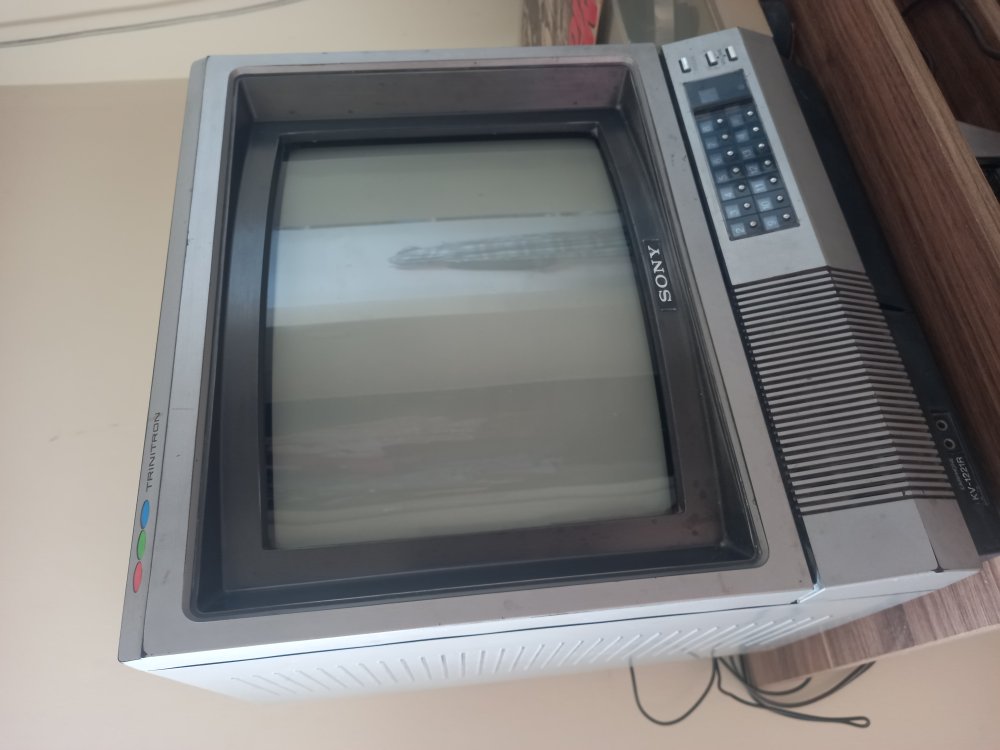
The CRT is not just an “old TV.” It is a technology with constraints (15 kHz, 240p, 50/60 Hz) and very concrete advantages: pixel rendering, motion, feeling of responsiveness. A good CRT setup is first a coherent video chain, then only fine adjustments.
Technical synthesis (CRT display, 2019–2024)
Latency, smoothness, advanced options: the “feeling” before the numbers
Why latency is so noticeable in retro gaming
In retro games, you feel it quickly: jump “to the pixel,” tight timing, bullet hell patterns. Total latency comes from a sum: controller (polling), emulation (buffering), display (processing), and sometimes network (netplay). Even without internet, “local delay” can be much higher than expected depending on the software stack and buffering.
What studies say (useful, without obsession)
Two simple benchmarks help keep a cool head. First, research on gaming performance shows that modest differences already matter: a study on CS:GO indicates that a reduction of 100 ms in network latency can improve accuracy by about 2% and increase the score (with a measured improvement in user experience as well). Then, more recent work cites perceptible degradations from 25 ms in certain competitive gaming contexts.
On the display side, a point often misunderstood: a CRT “illuminates” the image very briefly during scanning, and some tests explain that the persistence of light can be on the order of 1–2 ms under given conditions. That doesn’t mean “magical zero latency,” but it helps understand why motion and feeling can seem more “direct.”
Finally, work on visual perception shows that modern LCDs, with good settings, can be suitable for millisecond-precise presentations in the lab. In other words: you can have a good LCD setup, but in retro gaming, the interest of CRT remains very concrete in terms of rendering and experience.
Reducing latency on Recalbox without breaking everything
“Safe” optimizations: limit costly filters, avoid unnecessary post-processing chains, keep a stable frequency, and only activate advanced options (like runahead) if you understand their CPU cost and real effect depending on the core. The right goal is not “everything at minimum,” it’s stable + responsive, game by game if necessary.
Next step: quick checklist for a successful setup
In 10 minutes, you know if your project is on the right track
- Healthy storage: reliable microSD/SSD, stable image, no write errors.
- Power supply: serious block, short cable, no voltage drop.
- Network: access to shared folders, simple transfers.
- Organized ROMs: clean folders, correct formats, zero unnecessary duplicates.
- Verified BIOS: present, correct names, correct locations.
- Controller ok: hotkeys defined, menu exit/return mastered.
- CRT (if RGB Dual): good SCART/VGA cable, compatible 50/60 Hz, centering done.
- Stability: 20 minutes of gameplay without freezing, clean reboot, correct temperatures.
Recalbox & RGB Dual FAQ
Is Recalbox legal?
Yes, the system itself is an OS and an interface. Legality mainly depends on your ROMs and BIOS: only use dumps and files that you have the right to possess.
Where to put games (ROMs) on Recalbox?
In the shared folders by system (network/manager). The idea: one folder per console/computer/arcade, with compatible formats.
Why don’t some games start?
Common causes: missing BIOS, wrong format, inconsistent arcade romset, or core that does not support the game as is. Start by checking BIOS and format before any other setting.
Does RGB Dual work with all CRT TVs?
Many, but not “all” absolutely: some TVs have constraints (50 Hz only, tricky geometry, sensitive SCART input). The RGB Dual 2 dipswitches help maximize compatibility at first boot.
Can SCART and VGA be connected at the same time?
No: the system does not output simultaneously on both. You choose your screen (CRT SCART or VGA monitor), which simplifies compatibility and signal quality.
What is the minimum Recalbox version required for RGB Dual?
The RGB Dual documentation indicates Recalbox 8.1+. In practice, staying on the current stable branch is the safest choice.
How to adjust the image on CRT (centering, size)?
Part is adjusted in the dedicated menus (horizontal/vertical centering, width), and part is adjusted on the TV (notably height). Proceed in small steps and note your settings.
Recalbox uses RetroArch: should I tweak the options?
Yes, but with caution. Keep the default settings when everything is working well, use overrides when you adjust, and avoid changing global options “randomly” if you want a stable system.
How to improve the feeling of responsiveness?
Start with the simplest: stable display, no unnecessary filters, reliable controller, and only then advanced options (which consume CPU). On CRT with RGB Dual, you already reduce a large part of the display chain.
{“@context”:”https://schema.org”,”@type”:”WebPage”,”about”:{“@type”:”Thing”,”name”:”Recalbox”},”keywords”:[“Recalbox”,”RGB Dual”,”retrogaming”,”Raspberry Pi”,”CRT”]} {“@context”:”https://schema.org”,”@type”:”Article”,”headline”:”Recalbox : le guide 2025 pour jouer comme à l’époque (avec focus RGB Dual)”,”description”:”Guide Recalbox 2025 : installation, ROMs/BIOS, manettes, optimisation et focus RGB Dual pour jouer en 240p sur CRT via Péritel/VGA.”,”keywords”:[“Recalbox”,”RGB Dual”,”CRT”,”Raspberry Pi”,”retrogaming”],”mainEntity”:{“@type”:”FAQPage”,”mainEntity”:[{“@type”:”Question”,”name”:”Recalbox est-il légal ?”,”acceptedAnswer”:{“@type”:”Answer”,”text”:”Oui, le système est légal. La légalité dépend surtout des ROMs et BIOS utilisés : n’utilise que ce que tu as le droit de posséder.”}},{“@type”:”Question”,”name”:”Où mettre les jeux (ROMs) sur Recalbox ?”,”acceptedAnswer”:{“@type”:”Answer”,”text”:”Dans les dossiers partagés par système (réseau/gestionnaire), un dossier par console/ordinateur/arcade avec des formats compatibles.”}},{“@type”:”Question”,”name”:”Pourquoi certains jeux ne se lancent pas ?”,”acceptedAnswer”:{“@type”:”Answer”,”text”:”Causes fréquentes : BIOS manquant, mauvais format, romset arcade incohérent ou core non adapté. Vérifie BIOS et format en premier.”}},{“@type”:”Question”,”name”:”Le RGB Dual marche-t-il avec toutes les TV cathodiques ?”,”acceptedAnswer”:{“@type”:”Answer”,”text”:”Il est compatible avec beaucoup de TV CRT, mais certaines imposent des contraintes (50 Hz uniquement, géométrie, entrée Péritel). Les dipswitch du RGB Dual 2 aident au premier boot.”}},{“@type”:”Question”,”name”:”Peut-on brancher Péritel et VGA en même temps ?”,”acceptedAnswer”:{“@type”:”Answer”,”text”:”Non, la sortie n’est pas simultanée. Tu choisis soit la TV CRT en Péritel, soit le moniteur VGA, ce qui simplifie la compatibilité.”}},{“@type”:”Question”,”name”:”Quelle version minimale de Recalbox faut-il pour RGB Dual ?”,”acceptedAnswer”:{“@type”:”Answer”,”text”:”La documentation RGB Dual indique Recalbox 8.1+ ; rester sur la branche stable actuelle est recommandé pour la fiabilité.”}},{“@type”:”Question”,”name”:”Comment régler l’image sur CRT (centrage, taille) ?”,”acceptedAnswer”:{“@type”:”Answer”,”text”:”Une partie se règle via le menu (centrage/largeur), et une partie directement sur la TV (notamment la hauteur). Procède par petits pas.”}},{“@type”:”Question”,”name”:”Recalbox utilise RetroArch : je touche aux options ?”,”acceptedAnswer”:{“@type”:”Answer”,”text”:”Oui, mais avec méthode : conserve les réglages par défaut si tout fonctionne, utilise les overrides pour des ajustements et évite les changements globaux hasardeux.”}}]}}


