| Key Points | Details to Remember |
|---|---|
| 🔍 Definition | Roblox coloring blending the world of ninja and knight. |
| 🎨 Benefits | Creativity encouraged and fine motor skills stimulated. |
| 🛠️ Materials | Sheets, colored pencils, markers, erasers. |
| ✏️ Methods | Sketching, outlines, shading. |
| 💡 Variations | Fight scenes, silhouettes, fusion. |
| 🚀 Sharing | Social networks, albums, home exhibitions. |
The Roblox coloring combines the energy of a ninja with the presence of a knight, offering an ideal playground for young artists. One might think it’s just about filling in color areas, but in reality, each line can become the starting point of a visual adventure. Follow this guide to explore the materials, techniques, and even new variations that will make your creation a true masterpiece.
Why choose a Roblox ninja/knight coloring?
The Roblox universe is already an invitation to imagination, and integrating two archetypes like the ninja and the knight multiplies the possibilities. On one side, stealth, bandanas, dynamic poses; on the other, armor, sword, and chivalrous posture. This contrast fuels the imagination and allows learning to play with light and textures. Additionally, the mix of styles encourages experimenting with bold palettes: dark green for the ninja, polished metal for the knight… and why not a neon stroke to modernize everything?
Necessary materials
Before diving into your creation, a quick inventory avoids interruptions mid-drawing:
- Thick sheets (160 g/m² weight) to prevent smudging.
- Colored pencils with soft leads (2H to 6B to vary shades).
- Fine markers for precise outlines (0.3 to 0.5 mm).
- Kneaded eraser to correct without damaging the paper.
- Blending stumps for soft shading.
Each of these tools combines to balance precision and spontaneity. The thick sheet, for example, allows layering washes of color without risk of tearing.
Steps to succeed in your coloring
1. Sketch and outlines
Always start with a light pencil sketch. First place the general silhouette: ninja’s posture, knight’s position. Corrections are easy at this stage. Once satisfied, go over with a fine marker playing with line thickness to add depth.
2. Filling in colors
Work zone by zone: start with broad areas (costume, armor), then let dry before tackling details. By layering several light coats, you avoid the “cardboard” effect and create natural gradients.
3. Adding final details
This is where everything comes to life: reflections on the helmet, shadows under the hood, patterns on the armor. A white gel pen stroke can simulate a metallic gleam, while controlled blending adds volume to drapery.
Variants and Original Ideas
To break away from the beaten path, try these variations:
| Variation | Description |
|---|---|
| Streamlined Silhouette | Simplified contours, two contrasting shades for a graphic effect. |
| Battle Scene | Add minimalist backgrounds: bamboo for the ninja, castle for the knight. |
| Ninja-Knight Fusion | Mix of light armor, hybrid accessories, multicolored palette. |
Presentation and Sharing Tips
- Scan or photograph in high resolution to preserve details.
- Create a themed album on your social networks or a blog.
- Frame your artworks for an exhibition in the bedroom or living room.
- Organize a friendly little contest among friends or classmates.
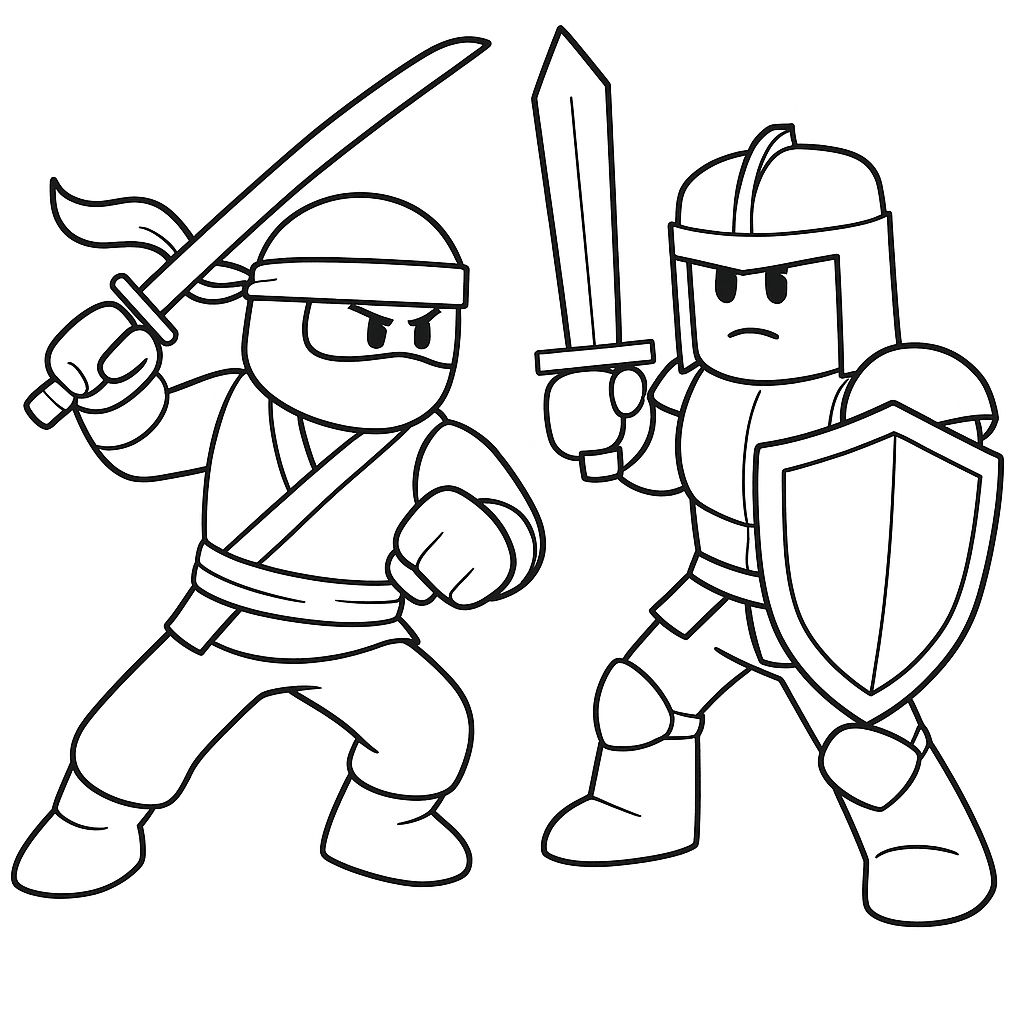 Roblox ninja vs knight coloring page, ready to be colored.
FAQ
Should I use specific paper?
A 160 g/m² or thicker paper limits smudging and better supports layering of shades.
How to achieve a realistic metallic effect?
Combine a very light gray for the base, a dark gray for shadows, and a white gel pen stroke for the reflection.
Can I add a background decoration?
Absolutely: a minimalist background is enough to set the scene without overloading the image.


